Updating TeamMate for Annual Methodology Updates (Process to follow when using “Get Programs”)
12/1/2014
Performance Audit Practice Team (PAPT)
Table of Contents
Step 1—Access the Master File
Step 2—Select “Get Programs”
Step 3—Select the TeamStore file
Step 4—Select the new audit procedures
Step 5—Import the new audit procedures into the TeamMate file
Step 6—Move the audit procedures
Step 7—Delete the old audit procedures
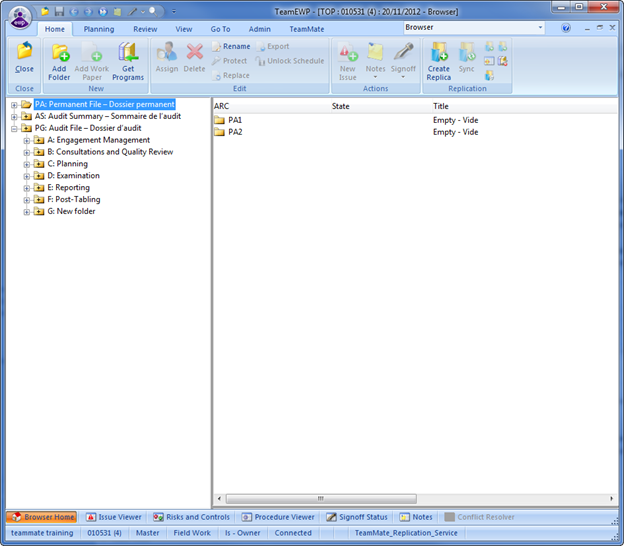
Step 1—Access the Master File
Access the TeamMate audit file that needs to be updated using the master file. Make sure that all replicas (if any) are merged back into the master file before importing new audit procedures.
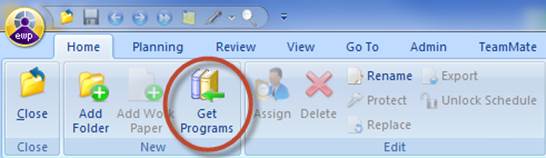
Step 2—Select “Get Programs”
In order to access the updated version of the TeamStore, click on the “Get Program” icon in the Home Menu.
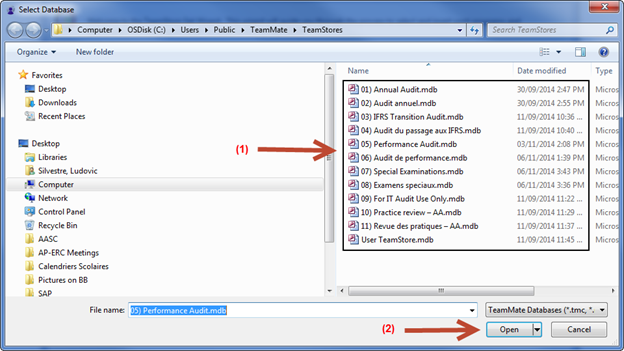
Step 3—Select the TeamStore file
Select the option: “Get from Offline or other TeamStore” and browse the file.
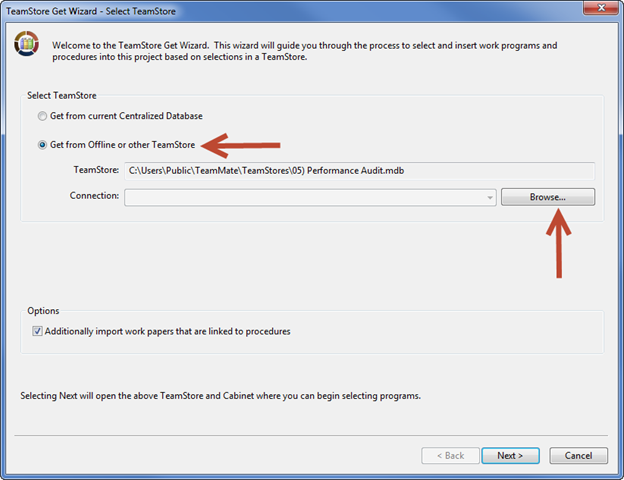
Then, (1) select your audit library, depending on the product you are working on and the language used. Once the needed file is selected (2) Click on “Open.”
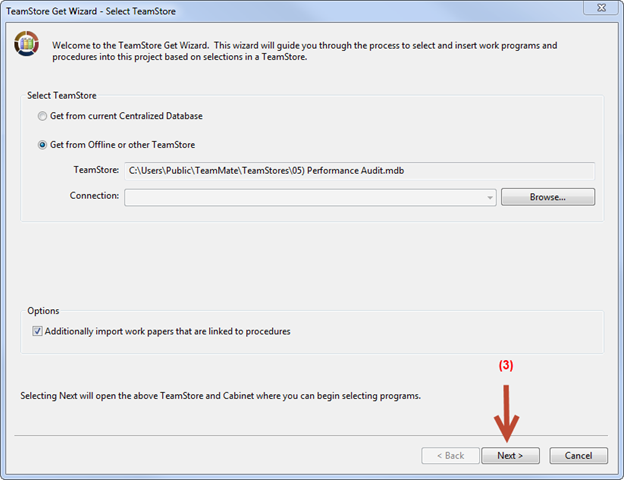
Another screen will display and (3) click on “Next.”
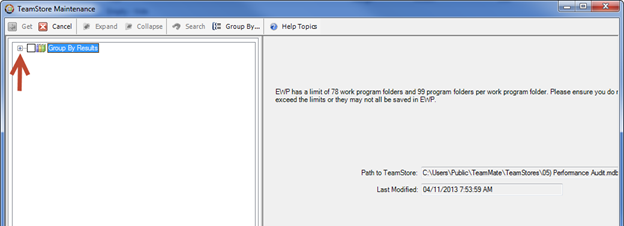
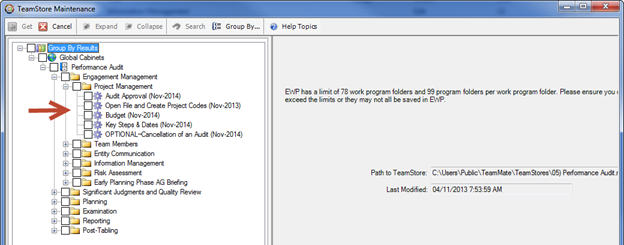
Step 4—Select the new audit procedures
Once in the TeamStore Maintenance Tool, select the needed audit procedures using the “+” to expand content. You can go as deep as the audit procedure level.
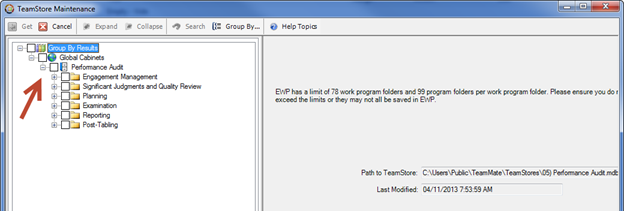
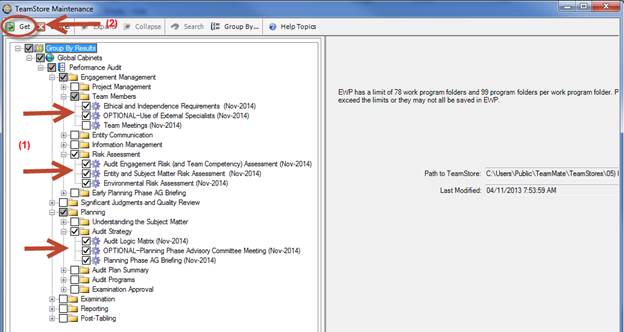
(1) Tick the needed boxes and (2) click on “Get” to import content.
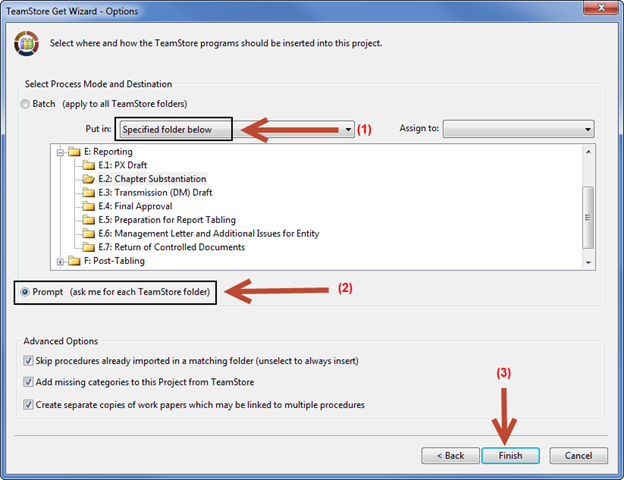
Step 5—Import the new audit procedures into the TeamMate file
Once the needed audit procedures have been selected, you need to determine where you want to add these audit procedures by (1) selecting the option: “Specified folder below,” (2) and by selecting “Prompt (ask for each TeamStore folder)” in order to add all selected audit procedures where you want (one by one). Once done (3) click on “Finish.”
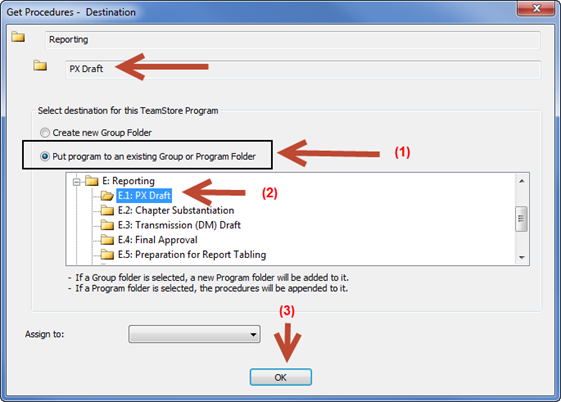
For each selected audit procedure, a screen will display to identify its destination. (1) Select “Put program to an existing Group or Program Folder” and (2) choose the destination for each selected audit procedure. In this example, the software is told to add the selected audit procedures for the “PX Draft” sub-folder into E.1. (3) Click on OK and follow the same process with the remaining audit procedures until there are all imported in the needed sub-folders.
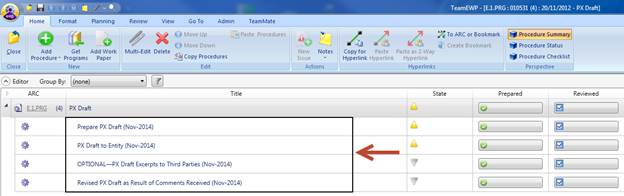
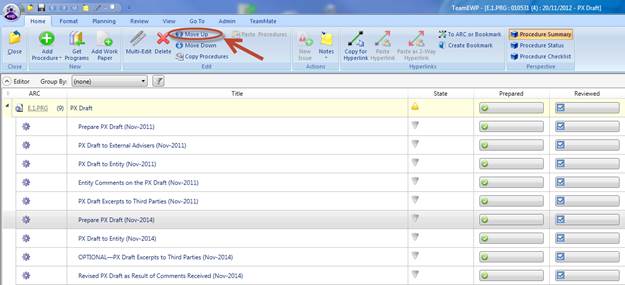
Step 6—Move the audit procedures
Access your newly imported audit procedure in the PRG where there were added.
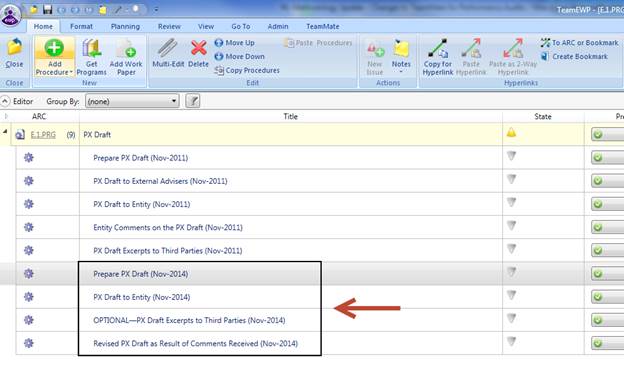
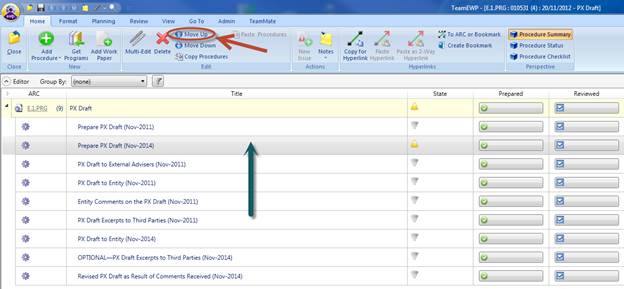
Select one by one your newly imported audit procedures and move them where you need them using the “Move Up” option.
Step 7—Delete the old audit procedures
Delete the audit procedures that are no longer needed where no work has started. (1) Select the audit procedure that you want to delete, (2) click on “Delete” and (3) click on “Yes” when you are asked to permanently delete the selected audit procedure.
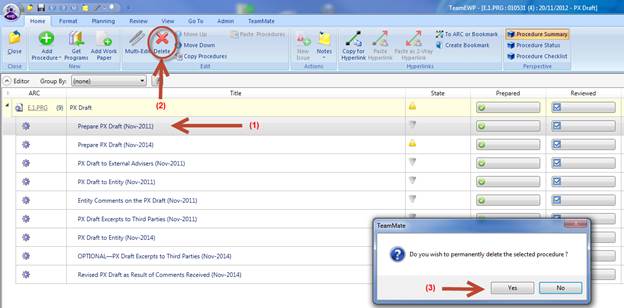
Proceed the same way with all audit procedures, in order to only keep the updated audit procedures.